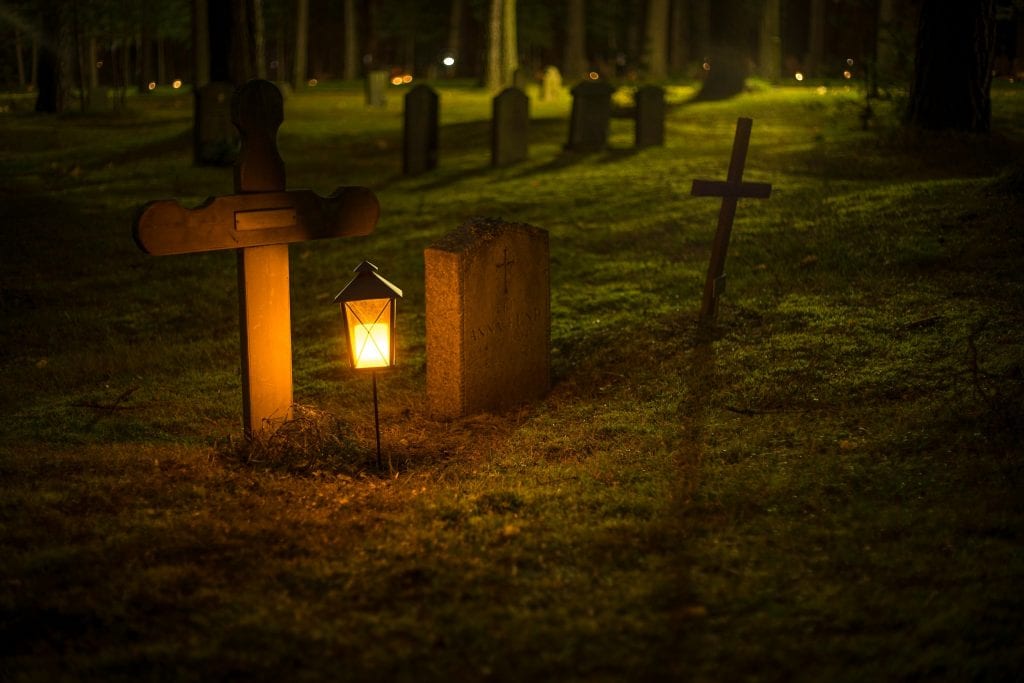
Skin and Bones Part 1
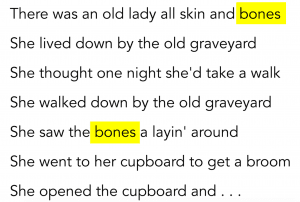
There was an Old Lady All Skin And Bones: Part 1
One really enjoyable aspect of Orff-Inspired teaching is being able to use “recycled songs.” These are songs that one can “spiral” from year to year adding new levels of engagement and skill. In this two-part post, Drue Bullington demonstrates how one simple folk song can build over the years and the children will beg for more! This process can be transferred to songs that you and your students enjoy to streamline planning without sacrificing quality. I hope this post will inspire you to “recycle” and “spiral” songs that you love!
This song story about an unassuming old lady who decides to take a little stroll after dark has brought boundless joy and excitement to kids of all ages for decades. Here follows a process for spiraling this simple, easy-to-learn, and easy-to-sing folk song through grades 1-6. It became a popular alternative to the “Halloween” song material which for a number of reasons, is best avoided in many communities. Since there is no mention of anything having to do with Halloween, it’s always been a safe, solid choice for a big load of October fun! Students actually ask for it all year, and many times endless begging and pleadings means that the end of the year “choice” music class activities include getting the “Old Lady’s” cane out of storage! The year going out with a “bang” also means going out with a “Boo!”
Kindergarten might be a bit too young for this experience. They’ve barely been in school for a month in October. It makes sense to save their first taste of this great folk song for first grade. This is where we first meet the “Old Lady All Skin and Bones”
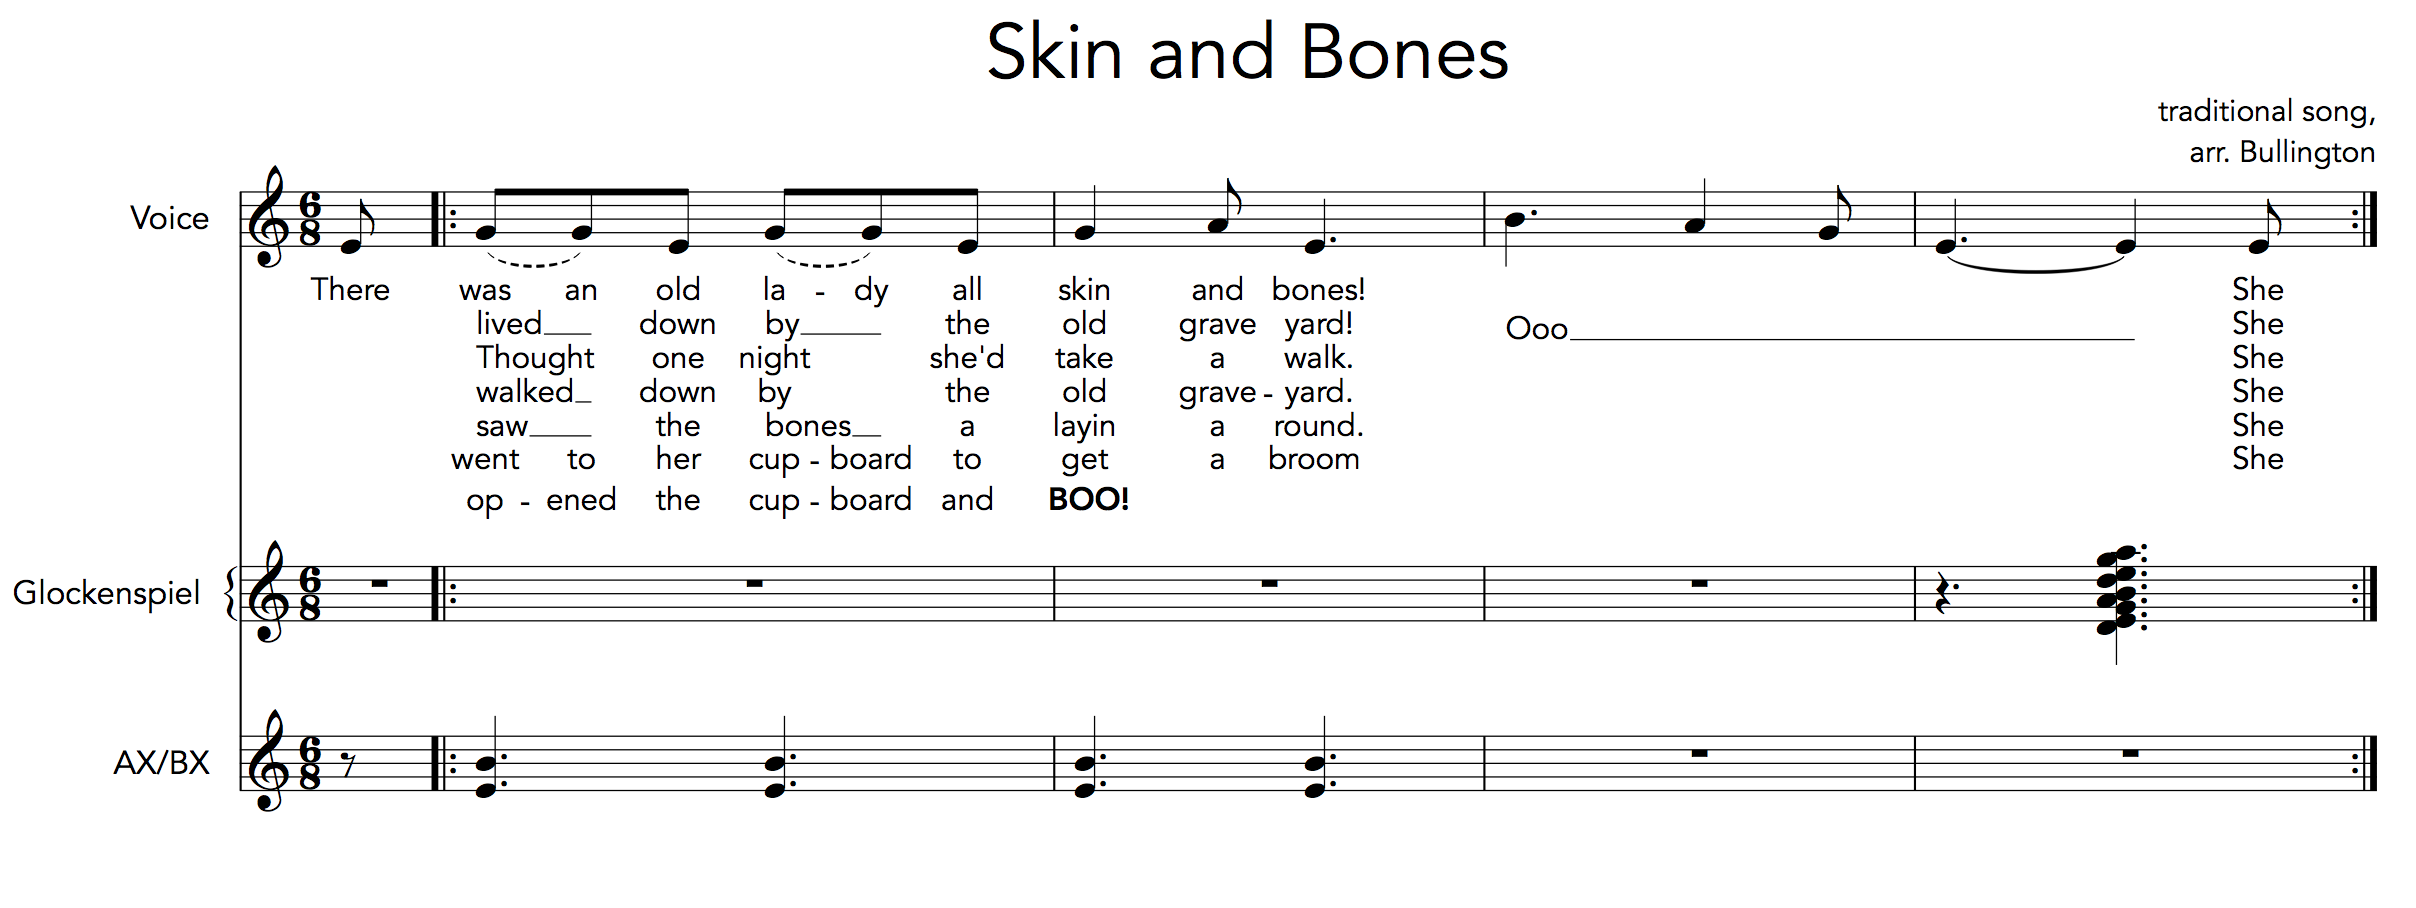
*The final “BOO!” Is actually not sung. It should be abrupt and loudly spoken, perhaps almost shouted!
1st Grade
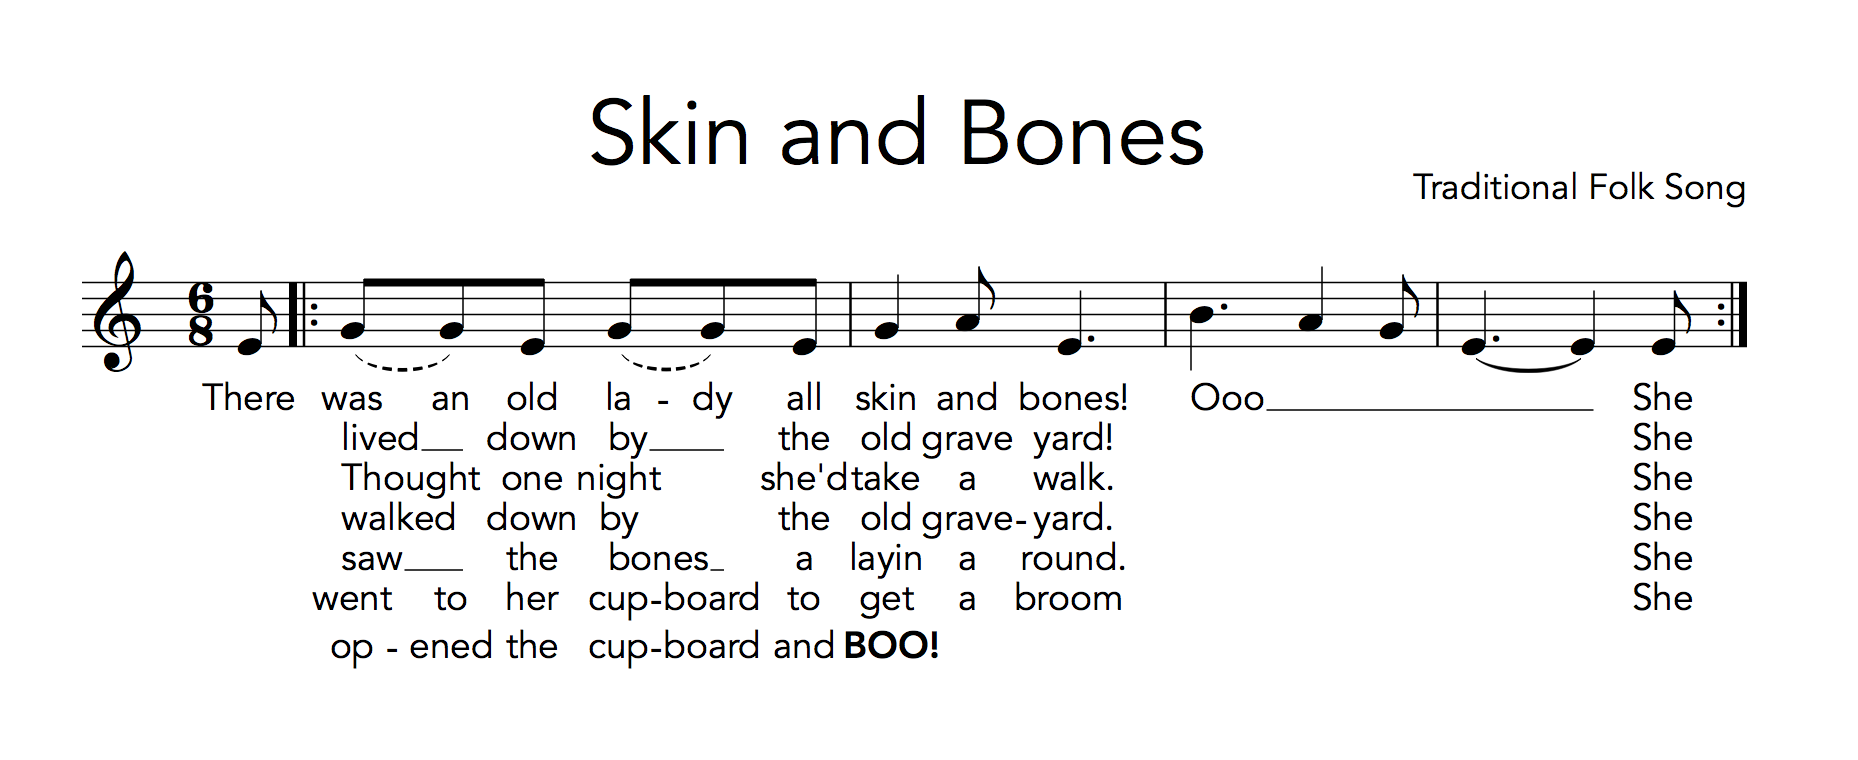
Ask the students to learn the “song of the wind” and teach them the very basic descending m r d l, pattern that serves as the refrain for the song.
“Song of the wind.”
Sing the song for the students in a story-telling fashion, give them a sense of mystery and anticipation in the singing of the song. It is great fun to turn out the classroom lights for this! Use a folk instrument for an accompaniment: Guitar, ukulele, banjo, dulcimer will all work. Make the “wind song” the first graders’ special part. When the end of the song finally comes and it’s time for the “Boo,” let fly with as raucously startling, calamitous a “Boo!” which you think the first graders could handle without losing their composure and descending into terrified puddles of their former selves!
Temperance in your approach will help the learners to feel that you were inviting them into a fun story instead of trapping them with an unexpected horrifying experience. It is always easier to play with your delivery in multiple classes and find the one with which you really feel comfortable and then adopting that one as your “go-to.”
When the students understand the song’s story and are able to sing the “wind song” with success and regularity, bring some drama into the experience.
Level 1
Invite the students to take on the role of trees in the graveyard. Spread the first graders out evenly in the free space they have available to them. Ask them to explore gnarly, old tree shapes and create a statue of such a tree. When the wind song happens, the limbs of the trees move as though affected by the breeze.
The teacher acts out the role of the “Old Lady.” This character should walk around the graveyard, perhaps carrying a cane or walking stick, even wearing a cloak, and experience the wind and of course seek the broom somewhere in the space when the time comes. At the end of the song, the students/trees all erupt in the “Boo!” As the old lady (acted out by the teacher) opens a pretend or “actual” cupboard/closet door, the she should dramatically collapse as though shaken to the core with fear. Of course, immediate calls for “again!” will usually erupt and the students are hooked for life!
Level 2
Replace the teacher in the role of “Old Lady” with a student. In order to create as peaceful a transfer of the character role from student to student, after the dramatic ending, ask the students who are trees to close their eyes and tell them that anyone caught peeking will not be chosen as the next “Old Lady.” The desire is strong to have a turn, so they are usually pretty willing to cooperate in this way. When the music begins again (Usually accompanied by the same folk instrument that was used in the initial singing of the story song by the teacher), the trees open their eyes and are surprised by the new actor in the role of old lady.
The role of “Old Lady” is taken on by both girls and boys. The rationale for this is that as a storyteller, when we are reading a story out loud, we don’t change the genders of the characters to match the person reading, and in the same way, as a teller of a story by showing in a dramatic way, we can all use our imaginations and know that boys are “acting as the old lady would act” without actually being “a lady.” The students are usually quite willing to adapt in this way because the game is fun. Changing the gender of the lyrics would wreck the consistency of the singing, and in the long run the game might deteriorate into confusion, which would really ruin the vibe of mystery and anticipation.
Level 3
Once comfort is established with the drama of the trees and the Old Lady actor, add the next level of interest. While the eyes are closed during the choosing of a new old lady, choose a willing and able accomplice and bring them to the closet/or cupboard area and hide them there unbeknownst to all of the other students and the old lady actor! Coach the “cupboard monster” to jump out and scare the jeepers out of the “Old Lady” and hopefully the whole class as well! Once this new dynamic is established, the game becomes an absolutely captivating experience, and for many a student holds high rank as one of their best memories of music class in elementary school, and for some, of their entire childhood!
2nd Grade
Level 1
We begin where first grade left off. Graveyard trees, an “Old Lady” actor, and the “cupboard monster!” Once this basic game play is established, introduce the instrument wonder known as the “wind chimes!” These are played when the wind blows. If your electrical system will allow it, it is fantastic to keep the lights off and have a child flicker them when the wind blows as well! The instrument and “lightning maker” jobs are given to new students during the “closed eyes, no talking” transfer of roles.
Level 2
Introduce another instrument when the “wind song” happens. A rain stick can add to the mystery of the story. It is also possible at this time to allow more drama to occur in the graveyard. It can be fun to ask students to introduce some nocturnal animals like raccoons, and black cats as well among the trees. The rule is always that they must stay away from the Old Lady as the story doesn’t mention them, we’ll just agree that they can be part of the scene.
Level 3
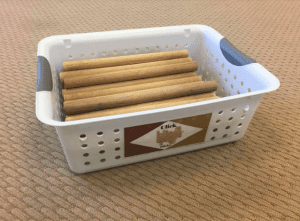
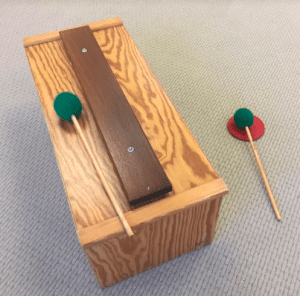
Introduce two more instruments. First, a big box of wooden rhythm sticks firmly and abruptly shaken give a striking sound that occurs whenever the song lyrics mention “bones!”
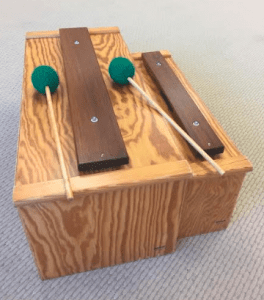
Secondly, on the final “Boo!” Have the person who shakes the bone box create a wonderful resonating splash of sound on a big gong, hand drum, bass drum, or timpani. With these exciting new additions, students would gladly play this game a lot longer than your music class will allow!
3rd Grade
Level 1
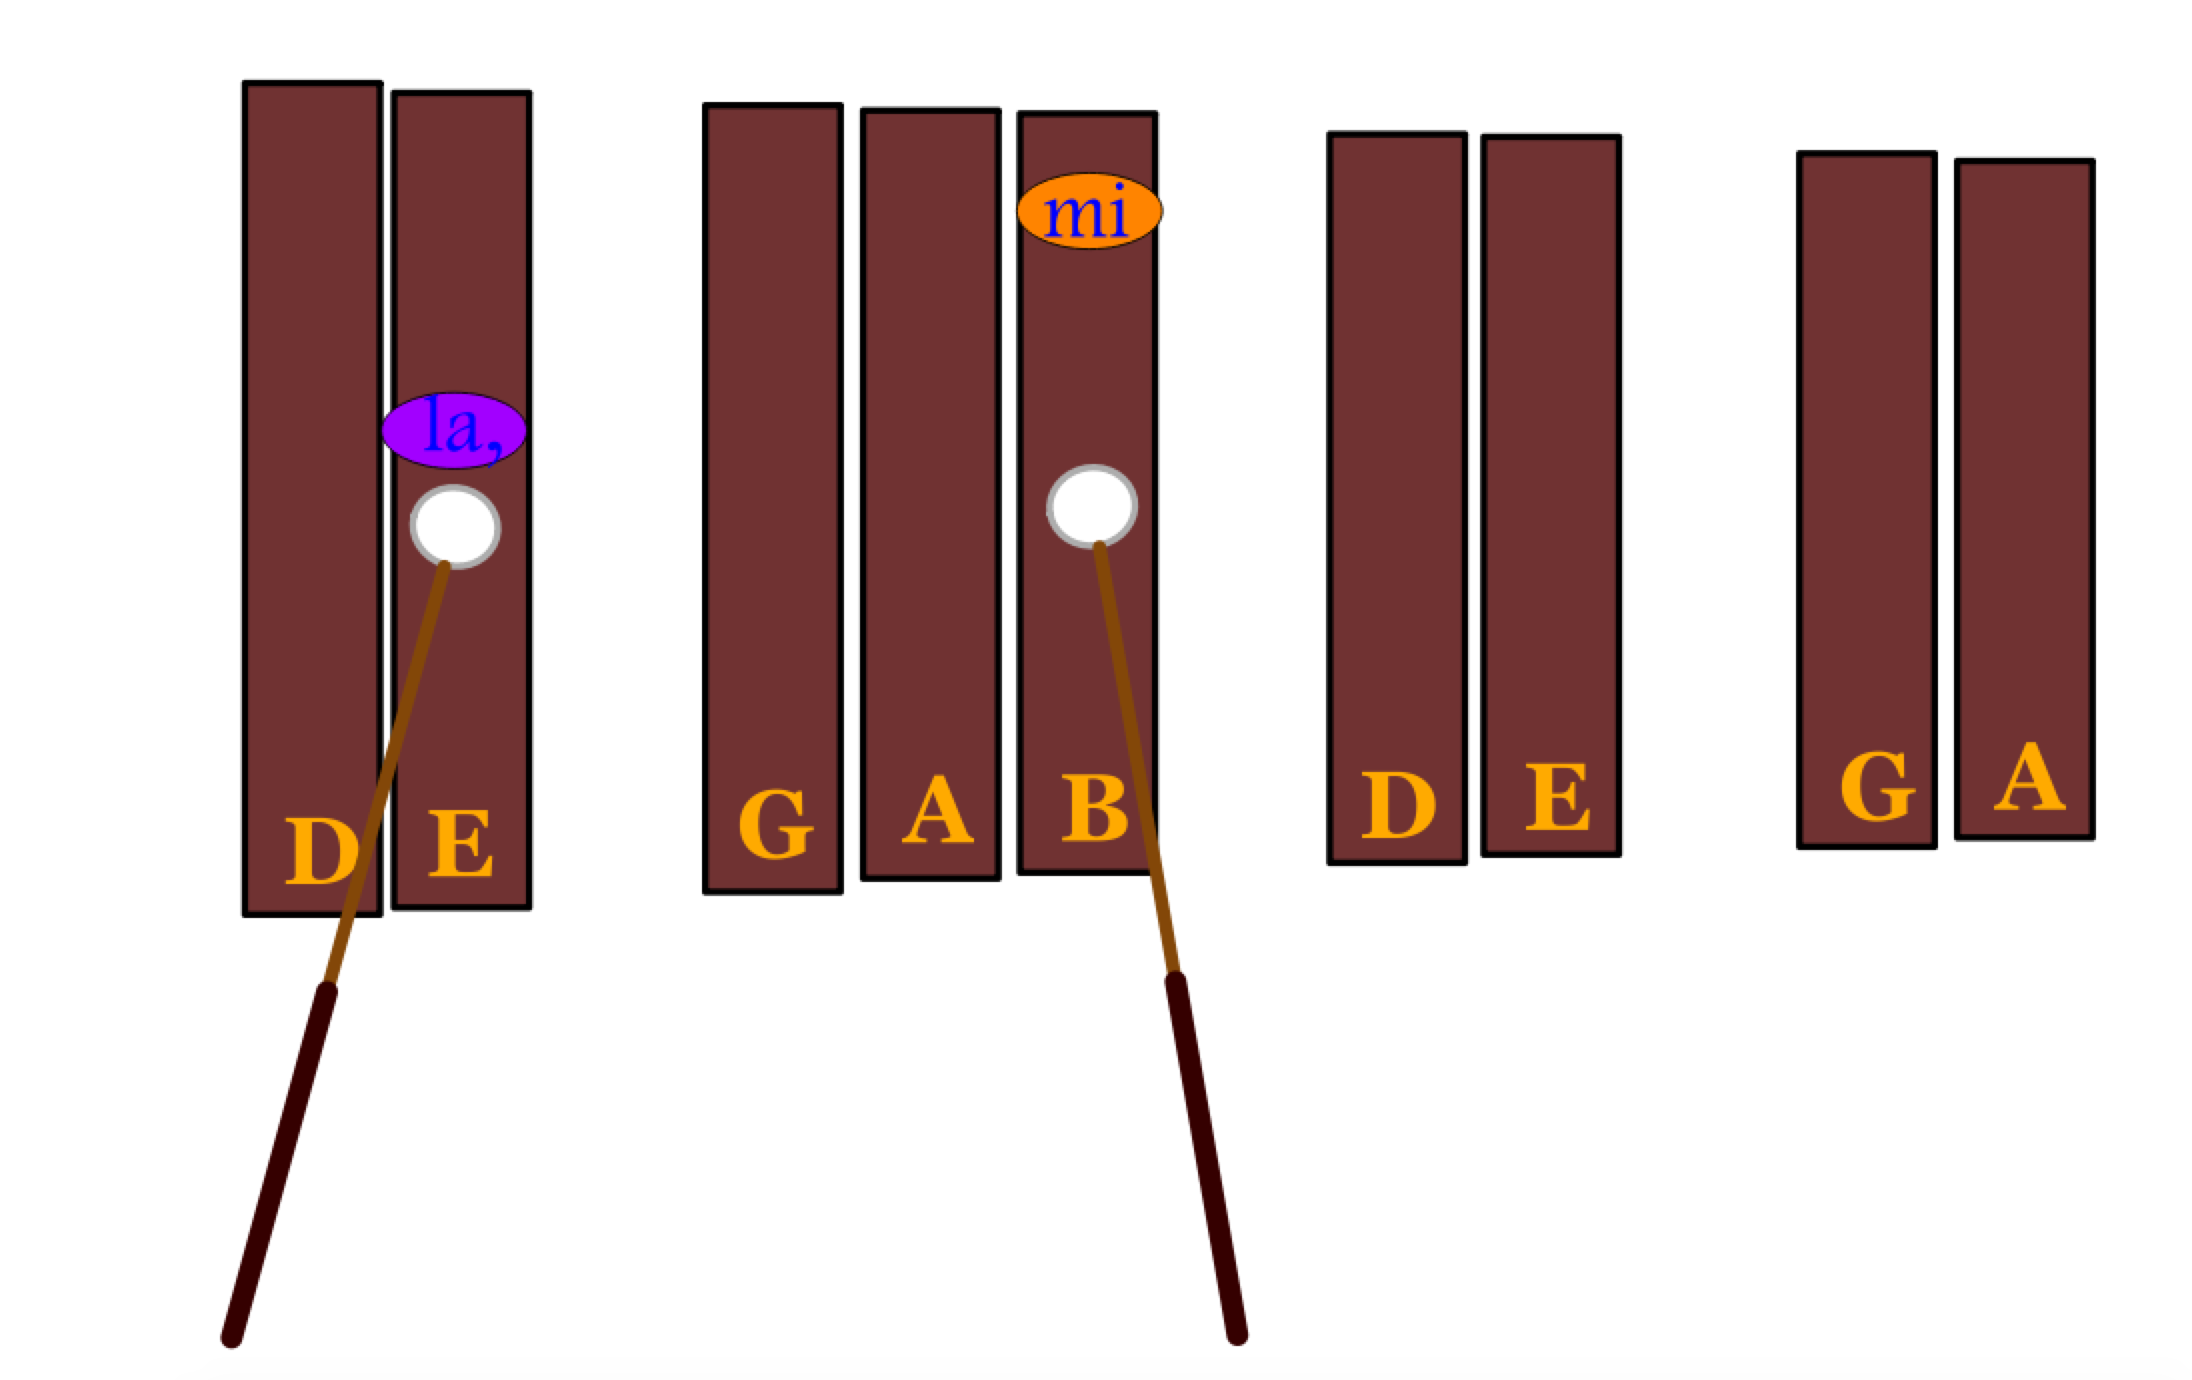
As in second grade, we review and quickly find ourselves happy and content with our familiar roles of “Old Lady,” trees, graveyard animals, “Cupboard monster,” wind chime player, rain stick player, bone box and gong/drum players. Next, we add a very simple chord drone on the tonic and dominant tones of la and mi. Begin by modeling a simple “steady pulse” patsch on the tops of the thighs with the students facing the teacher. Visually assess their class’ accuracy. If they seem like they can sing and keep the pulse from wavering, move them to instruments set up in an arrangement known as “la pentatonic on E.”
It is most successful if the chord drone is played only during the verse or during the “song of the wind,” but not continuously. Students who are playing a chord drone continuously over a sustained period of time will tend to build tension in their bodies and speed up the tempo. Build in breaks for them to reduce that tendency with rests. The approach works nicely because in the example below, the students can play the chord drone pulse, then use their mallets as tree branches in the breeze as they sing the melody of the “song of the wind,” then immediately play the chord drone for the next line of the story.
Playing a chord drone can be a reliable indicator of the internalization of the pulse in relation to the singing. If students can sing and play the steady pulse, they are ready to increase their challenge level. In general, no ensemble success will be possible where the pulse is not “rock steady.”
Level 2
We add next what might be the simplest, but also probably the most sophisticated sounding yet: a color part! The most musical aspect is that it is connected to the breath using the most elegant members of our Orff Instrumentarium, the soprano and/or alto glockenspiel!
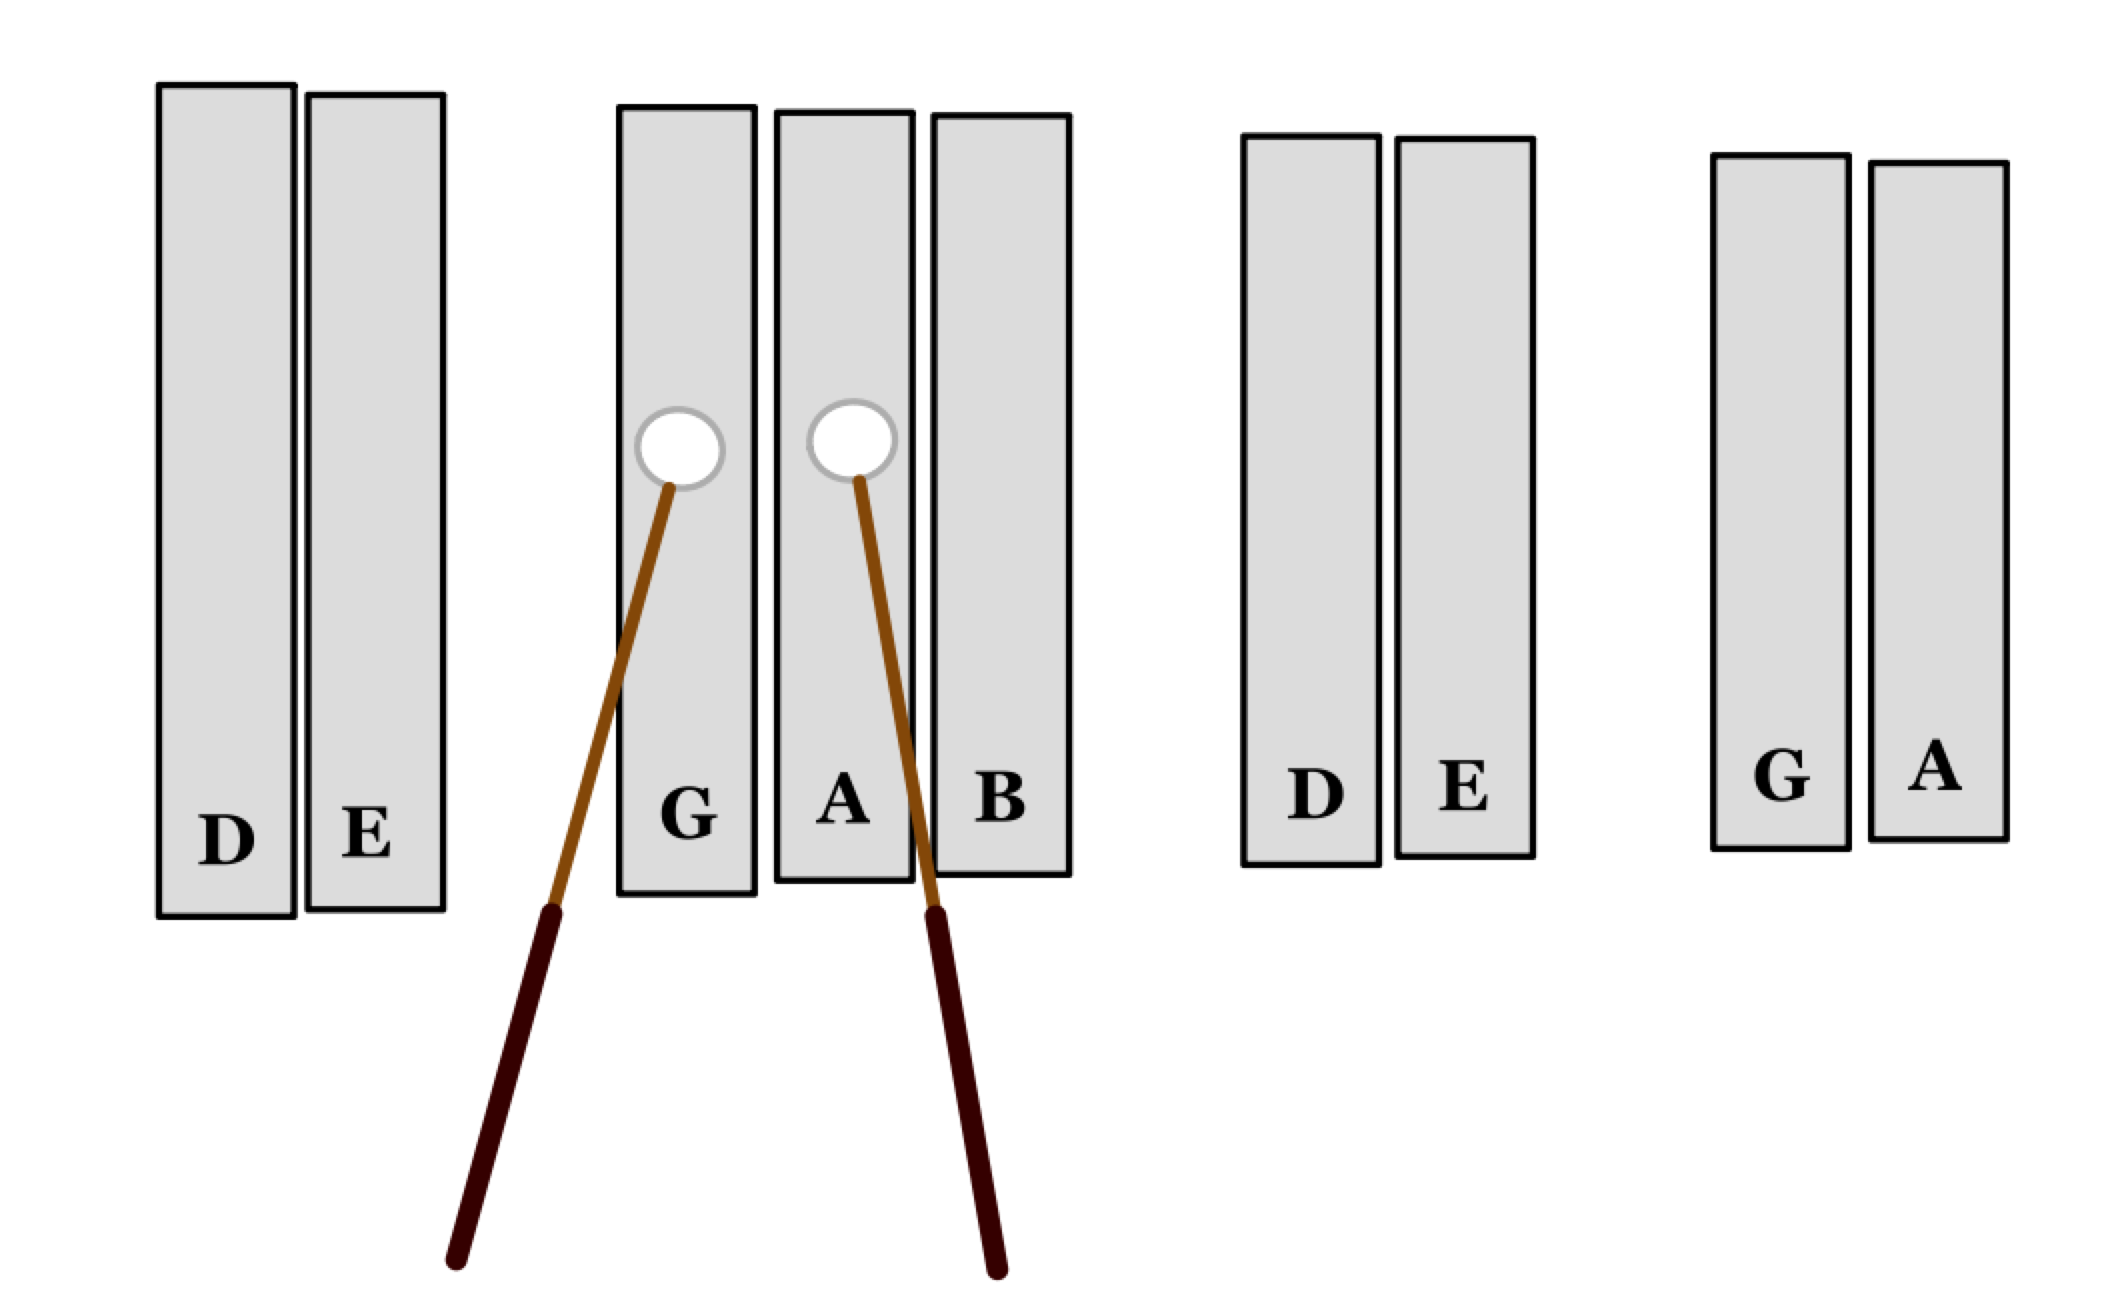
Set up the instruments again in the arrangement known as “la pentatonic on E.” It is labeled this way because the tonal center is “la” and in this case the letter name corresponding to “la” is E.
Students may choose two “next door neighbor notes” to play when they take a breath after they sing the “wind song.” Beautiful phrasing habits are formed inherently in activities like this!
Level 3
Add the Contra Bass Bar! When you get the opportunity to really build independence with the power of the bass bar, it’s hard to resist! An important thing to notice is the way that the AX/BX chord drone and the Contrabass Barr parts work together. This way the students have the opportunity to both play a vital part of an arrangement and listen to the main melody. This provides also an opportunity to reduce tension which will prevent players from pushing the tempo ahead, and give students a chance to feel connected to the whole aural landscape by clearing sound space from their personal responsibility which in turn allows them to hear other parts clearly.
The contrabass bar part is pretty easy to teach when the song is so deeply internalized. Have the students focus on the “rocking back and forth” that can happen if you let your body feel the swaying of the trees in the wind. Add the words “Cold, dark night.” Extend this rocking to the hands on the floor from side to side as students are sitting in a criss-cross position facing the teacher. Move the hands onto the thighs. The teacher will model their right hand on their right thigh, and the students will “mirror” this movement with their left hands on their left thighs. Rock back and forth from side to side alternating hands.
Transfer this next to the bass bars with the left side being played on the E bass bar and the right should be played on the B bass bar if it’s available. If not, just a poly spot on the floor could work as well.
We hope your students enjoy this delightful, fun experience with “Skin and Bones!” Please share your ideas for how you might use this song with your students! We’d also love to hear what other songs work well to “recycle and spiral” in your classrooms.
For more “Skin and Bones” check out Part Two of Drue’s post!
For expanded ideas on “Skin and Bones” plus other inclusive lesson ideas for fall, check out our webinar Autumnal Illuminations!
Originally published on Teaching With Orff October 11, 2018
See all posts by Drue Bullington
14 Comments
Leave a Comment
Sign up for latest Orff Tips, Lesson Plans and Advocacy Tools
Empower your students to create their own music in this free 3-day challenge with Roger Sams. (Lessons delivered via email)

Learn about the legendary factory that started it all and why so many teachers like you love our instruments.




Great Ideas
What beautiful process! I love how the layers are added year to year, but also within each grade level there are levels of complexity appropriate for those students. Can’t wait to try this with my kiddos!
Thanks for including so many details in your description and process. You clearly have anticipated all the possible “things to watch out” moments which will go a long way toward ensuring a very positive and magical musical experience for all. I’ll definitely incorporate these wonderful ideas this year!
Brilliant! I never thought to add rhythm sticks to the word “bones” – the layering is clearly explained and continues student engagement – Love this lesson – Thanks for sharing!
Thanks for sharing Mr. Drue. Awesome all around! Marti Bessinger
I love this!! Thank you for posting!
This is fantastic and has really opened my eyes to the possibilities of spiraling songs from year to year. What a new world for me to try, thank you!
This is brilliant!! Love these ideas and can’t wait to share them with my students. Thank you for sharing!
This looks great– thanks!
Great spiraling strategies, Drue!! I always say you need to know 10 good songs and 1,000 ways to use them!!
I just used this for the first time in one of my 1st grade classes and they loved it! They can’t wait to do it again and I can’t wait to use it with them in 2nd grade!
Great process. I’ve used this with 3rd and 4th graders with full body shadows and cut out props on a shadow screen.
This song is also a great way to introduce creative play to any class and any age, inviting the students to become active musicians in creating the final product. I use it to introduce opera every year. It’s perfect! A soloist and chorus (we have a ghost chorus sing the “Song of the Wind.” Simple costumes and props are introduced (old sheets and a hat and broomstick, cardboard headstones, etc.). Add some found sound and interpretive/improvised dance to set the scene, and voila! The students can also experiment with vocal play, using their whole vocal range during the “Song of the Wind.” The kids also get excited to introduce alternative endings to the song, or change the whole feeling by changing the scene or the protagonist. (What if a kangaroo sang this at a circus? How would we change it?)
After they have participated in their own opera, they are suddenly very interested and open to what is usually their first contact with classical opera–not a small feat for a very rural district in the mountain northwest!
Thanks for the great lesson suggestions, Drue. I like to use this song for recorder players to practice the low E.